harmony(鸿蒙)Networking
Networking
After completing compilation and burning, perform the following to connect the Hi3861 WLAN module to the Internet using AT commands.
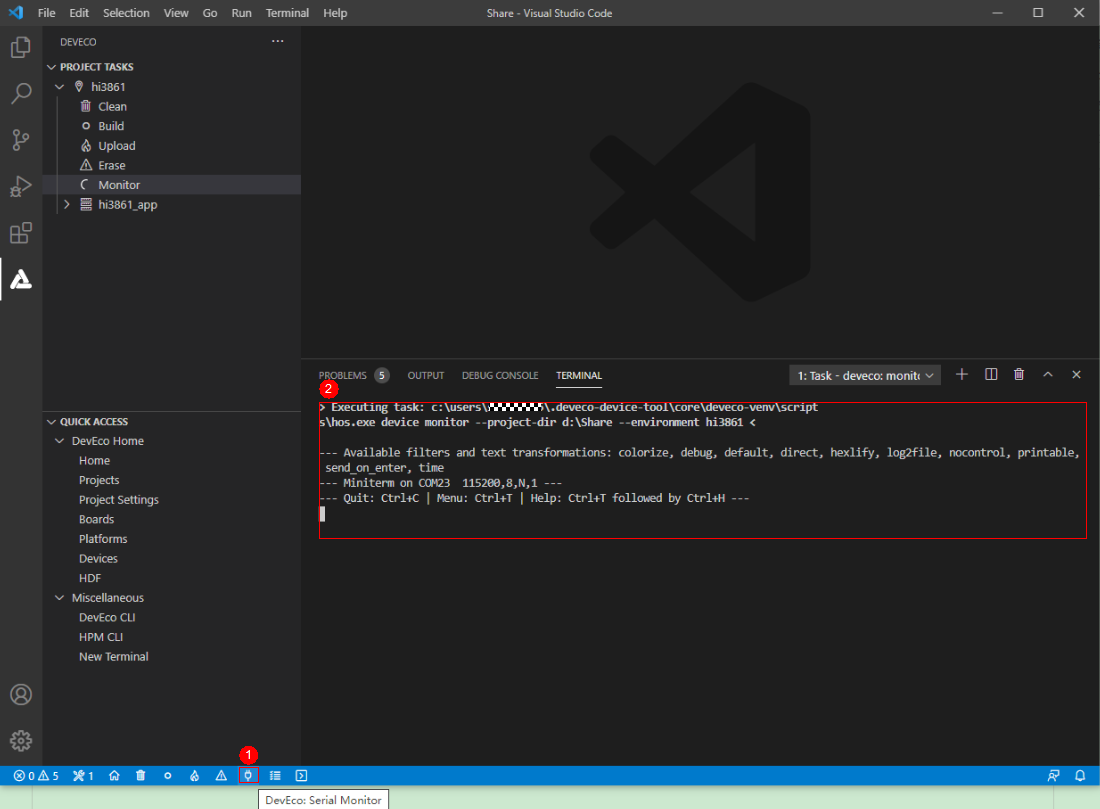
Click the icon of DevEco: Serial Monitor at the bottom of DevEco Device Tool to keep the connection between the Windows workstation and the WLAN module.
Figure 1 Opening the DevEco Device Tool serial port

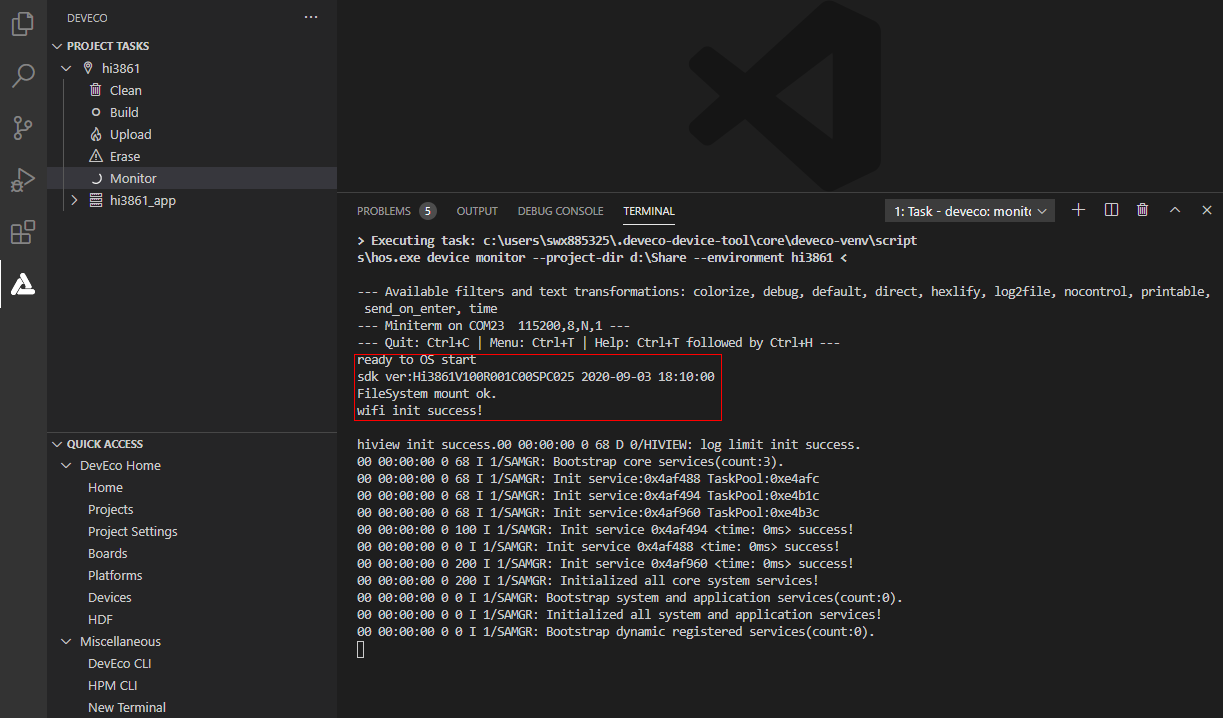
Reset the Hi3861 WLAN module. The message ready to OS start is displayed on the TERMINAL panel, indicating that the WLAN module is started successfully.
Figure 2 Successful resetting of the Hi3861 WLAN module

Run the following AT commands in sequence via the serial terminal to start the STA mode, connect to the specified AP, and enable Dynamic Host Configuration Protocol (DHCP).
NOTE After the development board is started, the serial port prints the test case information. Run the AT command after the test case information is printed. Otherwise, the AT command will be overwritten by the test case information.
   AT+STARTSTA                             # Start the STA mode.
   AT+SCAN                                 # Scan for available APs.
   AT+SCANRESULT                           # Display the scanning result.
   AT+CONN="SSID",,2,"PASSWORD"            # Connect to the specified AP. (SSID and PASSWORD represent the name and password of the hotspot to be connected, respectively.)
   AT+STASTAT                              # View the connection result.
   AT+DHCP=wlan0,1                         # Request the IP address of wlan0 from the AP using DHCP.
- Check whether the Hi3861 WLAN module is properly connected to the gateway, as shown in the following figure.
   AT+IFCFG                                # View the IP address assigned to an interface of the module.
   AT+PING=X.X.X.X                         # Check the connectivity between the module and the gateway. Replace X.X.X.X with the actual gateway address.
**Figure 3** Successful networking of the Hi3861 WLAN module

你可能感兴趣的鸿蒙文章
harmony(鸿蒙)Overall Description of Compilation Form Factors
harmony(鸿蒙)Importing a Source Code Project
harmony(鸿蒙)Setting Up the Windows+Ubuntu Hybrid Development Environment
harmony(鸿蒙)Introduction to the Hi3516 Development Board
harmony(鸿蒙)Introduction to the Hi3861 Development Board
harmony(鸿蒙)Mini and Small System Overview
- 所属分类: 后端技术
- 本文标签: