harmony 鸿蒙创建轮播(Swiper)
创建轮播(Swiper)
Swiper组件提供滑动轮播显示的能力。Swiper本身是一个容器组件,当设置了多个子组件后,可以对这些子组件进行轮播显示。通常,在一些应用首页显示推荐的内容时,需要用到轮播显示的能力。
针对复杂页面场景,可以使用 Swiper 组件的预加载机制,利用主线程的空闲时间来提前构建和布局绘制组件,优化滑动体验。详细指导见Swiper高性能开发指导。
布局与约束
Swiper作为一个容器组件,在自身尺寸属性未被设置时,会自动根据子组件的大小设置自身的尺寸。如果开发者对Swiper组件设置了固定的尺寸,则在轮播显示过程中均以该尺寸生效;否则,在轮播过程中,会根据子组件的大小自动调整自身的尺寸。
循环播放
通过loop属性控制是否循环播放,该属性默认值为true。
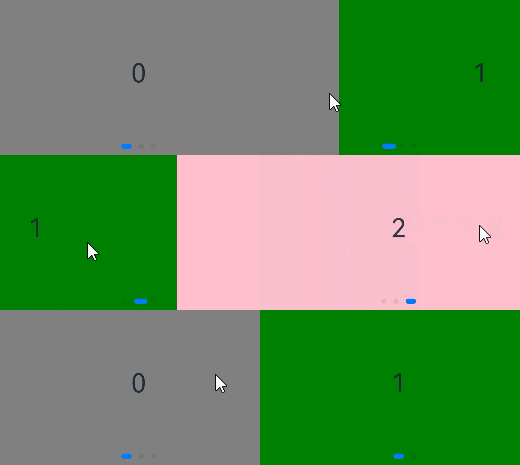
当loop为true时,在显示第一页或最后一页时,可以继续往前切换到前一页或者往后切换到后一页。如果loop为false,则在第一页或最后一页时,无法继续向前或者向后切换页面。
- loop为true
...
export let swiperController: SwiperController = new SwiperController()
...
Swiper(this.swiperController) {
  Text("0")
    .width('90%')
    .height('100%')
    .backgroundColor(Color.Gray)
    .textAlign(TextAlign.Center)
    .fontSize(30)

  Text("1")
    .width('90%')
    .height('100%')
    .backgroundColor(Color.Green)
    .textAlign(TextAlign.Center)
    .fontSize(30)

  Text("2")
    .width('90%')
    .height('100%')
    .backgroundColor(Color.Blue)
    .textAlign(TextAlign.Center)
    .fontSize(30)
}
.loop(true)

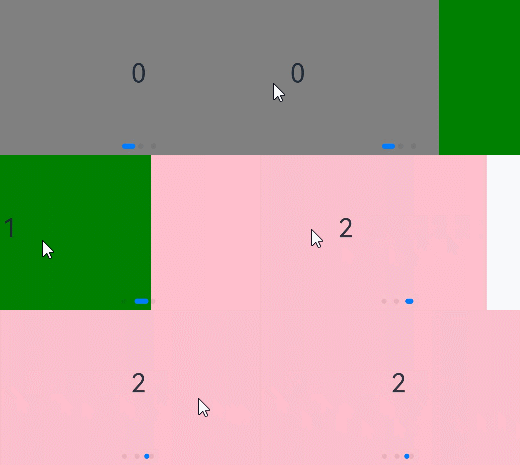
- loop为false
Swiper(this.swiperController) {
  Text("0")
    .width('90%')
    .height('100%')
    .backgroundColor(Color.Gray)
    .textAlign(TextAlign.Center)
    .fontSize(30)

  Text("1")
    .width('90%')
    .height('100%')
    .backgroundColor(Color.Green)
    .textAlign(TextAlign.Center)
    .fontSize(30)

  Text("2")
    .width('90%')
    .height('100%')
    .backgroundColor(Color.Blue)
    .textAlign(TextAlign.Center)
    .fontSize(30)
}
.loop(false)

自动轮播
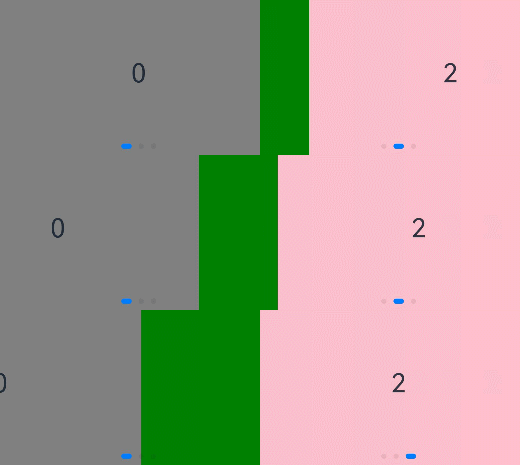
Swiper通过设置autoPlay属性,控制是否自动轮播子组件。该属性默认值为false。
autoPlay为true时,会自动切换播放子组件,子组件与子组件之间的播放间隔通过interval属性设置。interval属性默认值为3000,单位毫秒。
Swiper(this.swiperController) {
  Text("0")
    .width('90%')
    .height('100%')
    .backgroundColor(Color.Gray)
    .textAlign(TextAlign.Center)
    .fontSize(30)

  Text("1")
    .width('90%')
    .height('100%')
    .backgroundColor(Color.Green)
    .textAlign(TextAlign.Center)
    .fontSize(30)

  Text("2")
    .width('90%')
    .height('100%')
    .backgroundColor(Color.Pink)
    .textAlign(TextAlign.Center)
    .fontSize(30)
}
.loop(true)
.autoPlay(true)
.interval(1000)

导航点样式
Swiper提供了默认的导航点样式,导航点默认显示在Swiper下方居中位置,开发者也可以通过indicatorStyle属性自定义导航点的位置和样式。
通过indicatorStyle属性,开发者可以设置导航点相对于Swiper组件上下左右四个方位的位置,同时也可以设置每个导航点的尺寸、颜色、蒙层和被选中导航点的颜色。
- 导航点使用默认样式
Swiper(this.swiperController) {
  Text("0")
    .width('90%')
    .height('100%')
    .backgroundColor(Color.Gray)
    .textAlign(TextAlign.Center)
    .fontSize(30)

  Text("1")
    .width('90%')
    .height('100%')
    .backgroundColor(Color.Green)
    .textAlign(TextAlign.Center)
    .fontSize(30)

  Text("2")
    .width('90%')
    .height('100%')
    .backgroundColor(Color.Pink)
    .textAlign(TextAlign.Center)
    .fontSize(30)
}
- 自定义导航点样式
导航点直径设为30vp,左边距为0,导航点颜色设为红色。
let swco:Record<string,number|Color> = {'size':30,'left':0,'color':Color.Red}
Swiper(this.swiperController) {
  Text("0")
    .width('90%')
    .height('100%')
    .backgroundColor(Color.Gray)
    .textAlign(TextAlign.Center)
    .fontSize(30)

  Text("1")
    .width('90%')
    .height('100%')
    .backgroundColor(Color.Green)
    .textAlign(TextAlign.Center)
    .fontSize(30)

  Text("2")
    .width('90%')
    .height('100%')
    .backgroundColor(Color.Pink)
    .textAlign(TextAlign.Center)
    .fontSize(30)
}
.indicatorStyle(swco)
页面切换方式
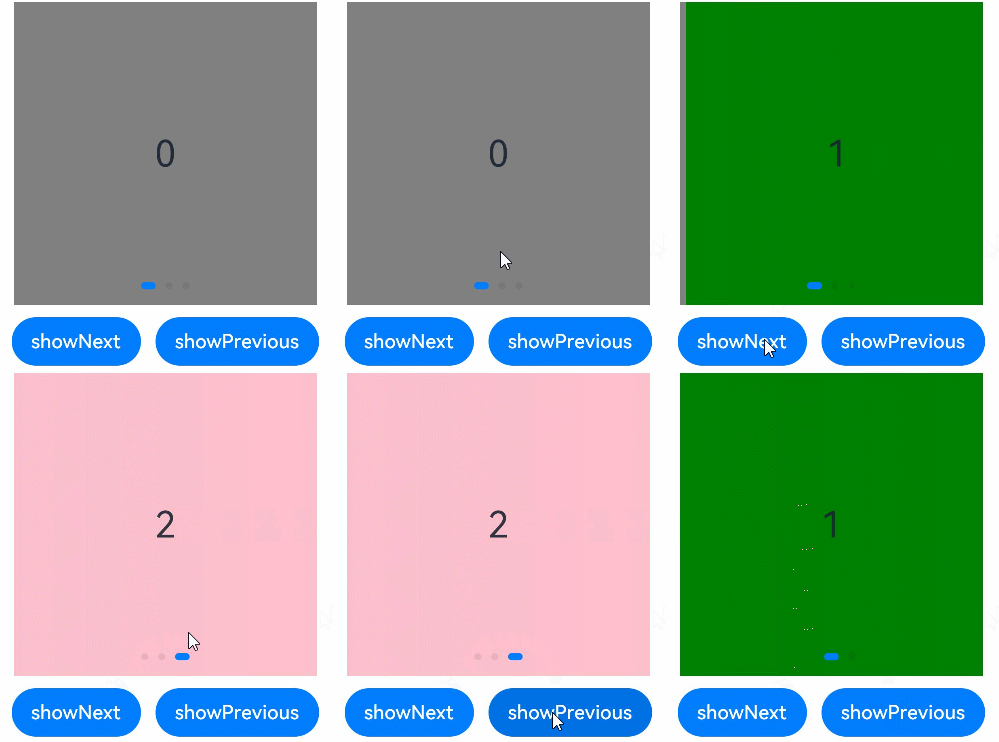
Swiper支持手指滑动、点击导航点和通过控制器三种方式切换页面,以下示例展示通过控制器切换页面的方法。
@Entry
@Component
struct SwiperDemo {
  private swiperController: SwiperController = new SwiperController();

  build() {
    Column({ space: 5 }) {
      Swiper(this.swiperController) {
        Text("0")
          .width(250)
          .height(250)
          .backgroundColor(Color.Gray)
          .textAlign(TextAlign.Center)
          .fontSize(30)
        Text("1")
          .width(250)
          .height(250)
          .backgroundColor(Color.Green)
          .textAlign(TextAlign.Center)
          .fontSize(30)
        Text("2")
          .width(250)
          .height(250)
          .backgroundColor(Color.Pink)
          .textAlign(TextAlign.Center)
          .fontSize(30)
      }
      .indicator(true)

      Row({ space: 12 }) {
        Button('showNext')
          .onClick(() => {
            this.swiperController.showNext(); // 通过controller切换到后一页
          })
        Button('showPrevious')
          .onClick(() => {
            this.swiperController.showPrevious(); // 通过controller切换到前一页
          })
      }.margin(5)
    }.width('100%')
    .margin({ top: 5 })
  }
}

轮播方向
Swiper支持水平和垂直方向上进行轮播,主要通过vertical属性控制。
当vertical为true时,表示在垂直方向上进行轮播;为false时,表示在水平方向上进行轮播。vertical默认值为false。
- 设置水平方向上轮播。
Swiper(this.swiperController) {
  ...
}
.indicator(true)
.vertical(false)
- 设置垂直方向轮播。
Swiper(this.swiperController) {
  ...
}
.indicator(true)
.vertical(true)
每页显示多个子页面
Swiper支持在一个页面内同时显示多个子组件,通过displayCount属性设置。
Swiper(this.swiperController) {
  Text("0")
    .width(250)
    .height(250)
    .backgroundColor(Color.Gray)
    .textAlign(TextAlign.Center)
    .fontSize(30)
  Text("1")
    .width(250)
    .height(250)
    .backgroundColor(Color.Green)
    .textAlign(TextAlign.Center)
    .fontSize(30)
  Text("2")
    .width(250)
    .height(250)
    .backgroundColor(Color.Pink)
    .textAlign(TextAlign.Center)
    .fontSize(30)
  Text("3")
    .width(250)
    .height(250)
    .backgroundColor(Color.Blue)
    .textAlign(TextAlign.Center)
    .fontSize(30)
}
.indicator(true)
.displayCount(2)
相关实例
针对Swiper组件开发,有以下相关实例可供参考:
你可能感兴趣的鸿蒙文章
- 所属分类: 后端技术
- 本文标签:
热门推荐
-
2、 - 优质文章
-
3、 gate.io
-
8、 golang
-
9、 openharmony
-
10、 Vue中input框自动聚焦